How to Tie-Dye: The Hack You Haven't Tried Yet
Finally ready to hop on the tie dye trend train? First, where have you been?! Second, if you truly somehow have made it through quarantine without tie-dyeing everything you own, then read on for an easy hack to tie-dye everything in your closet.
What You Need To Tie-Dye
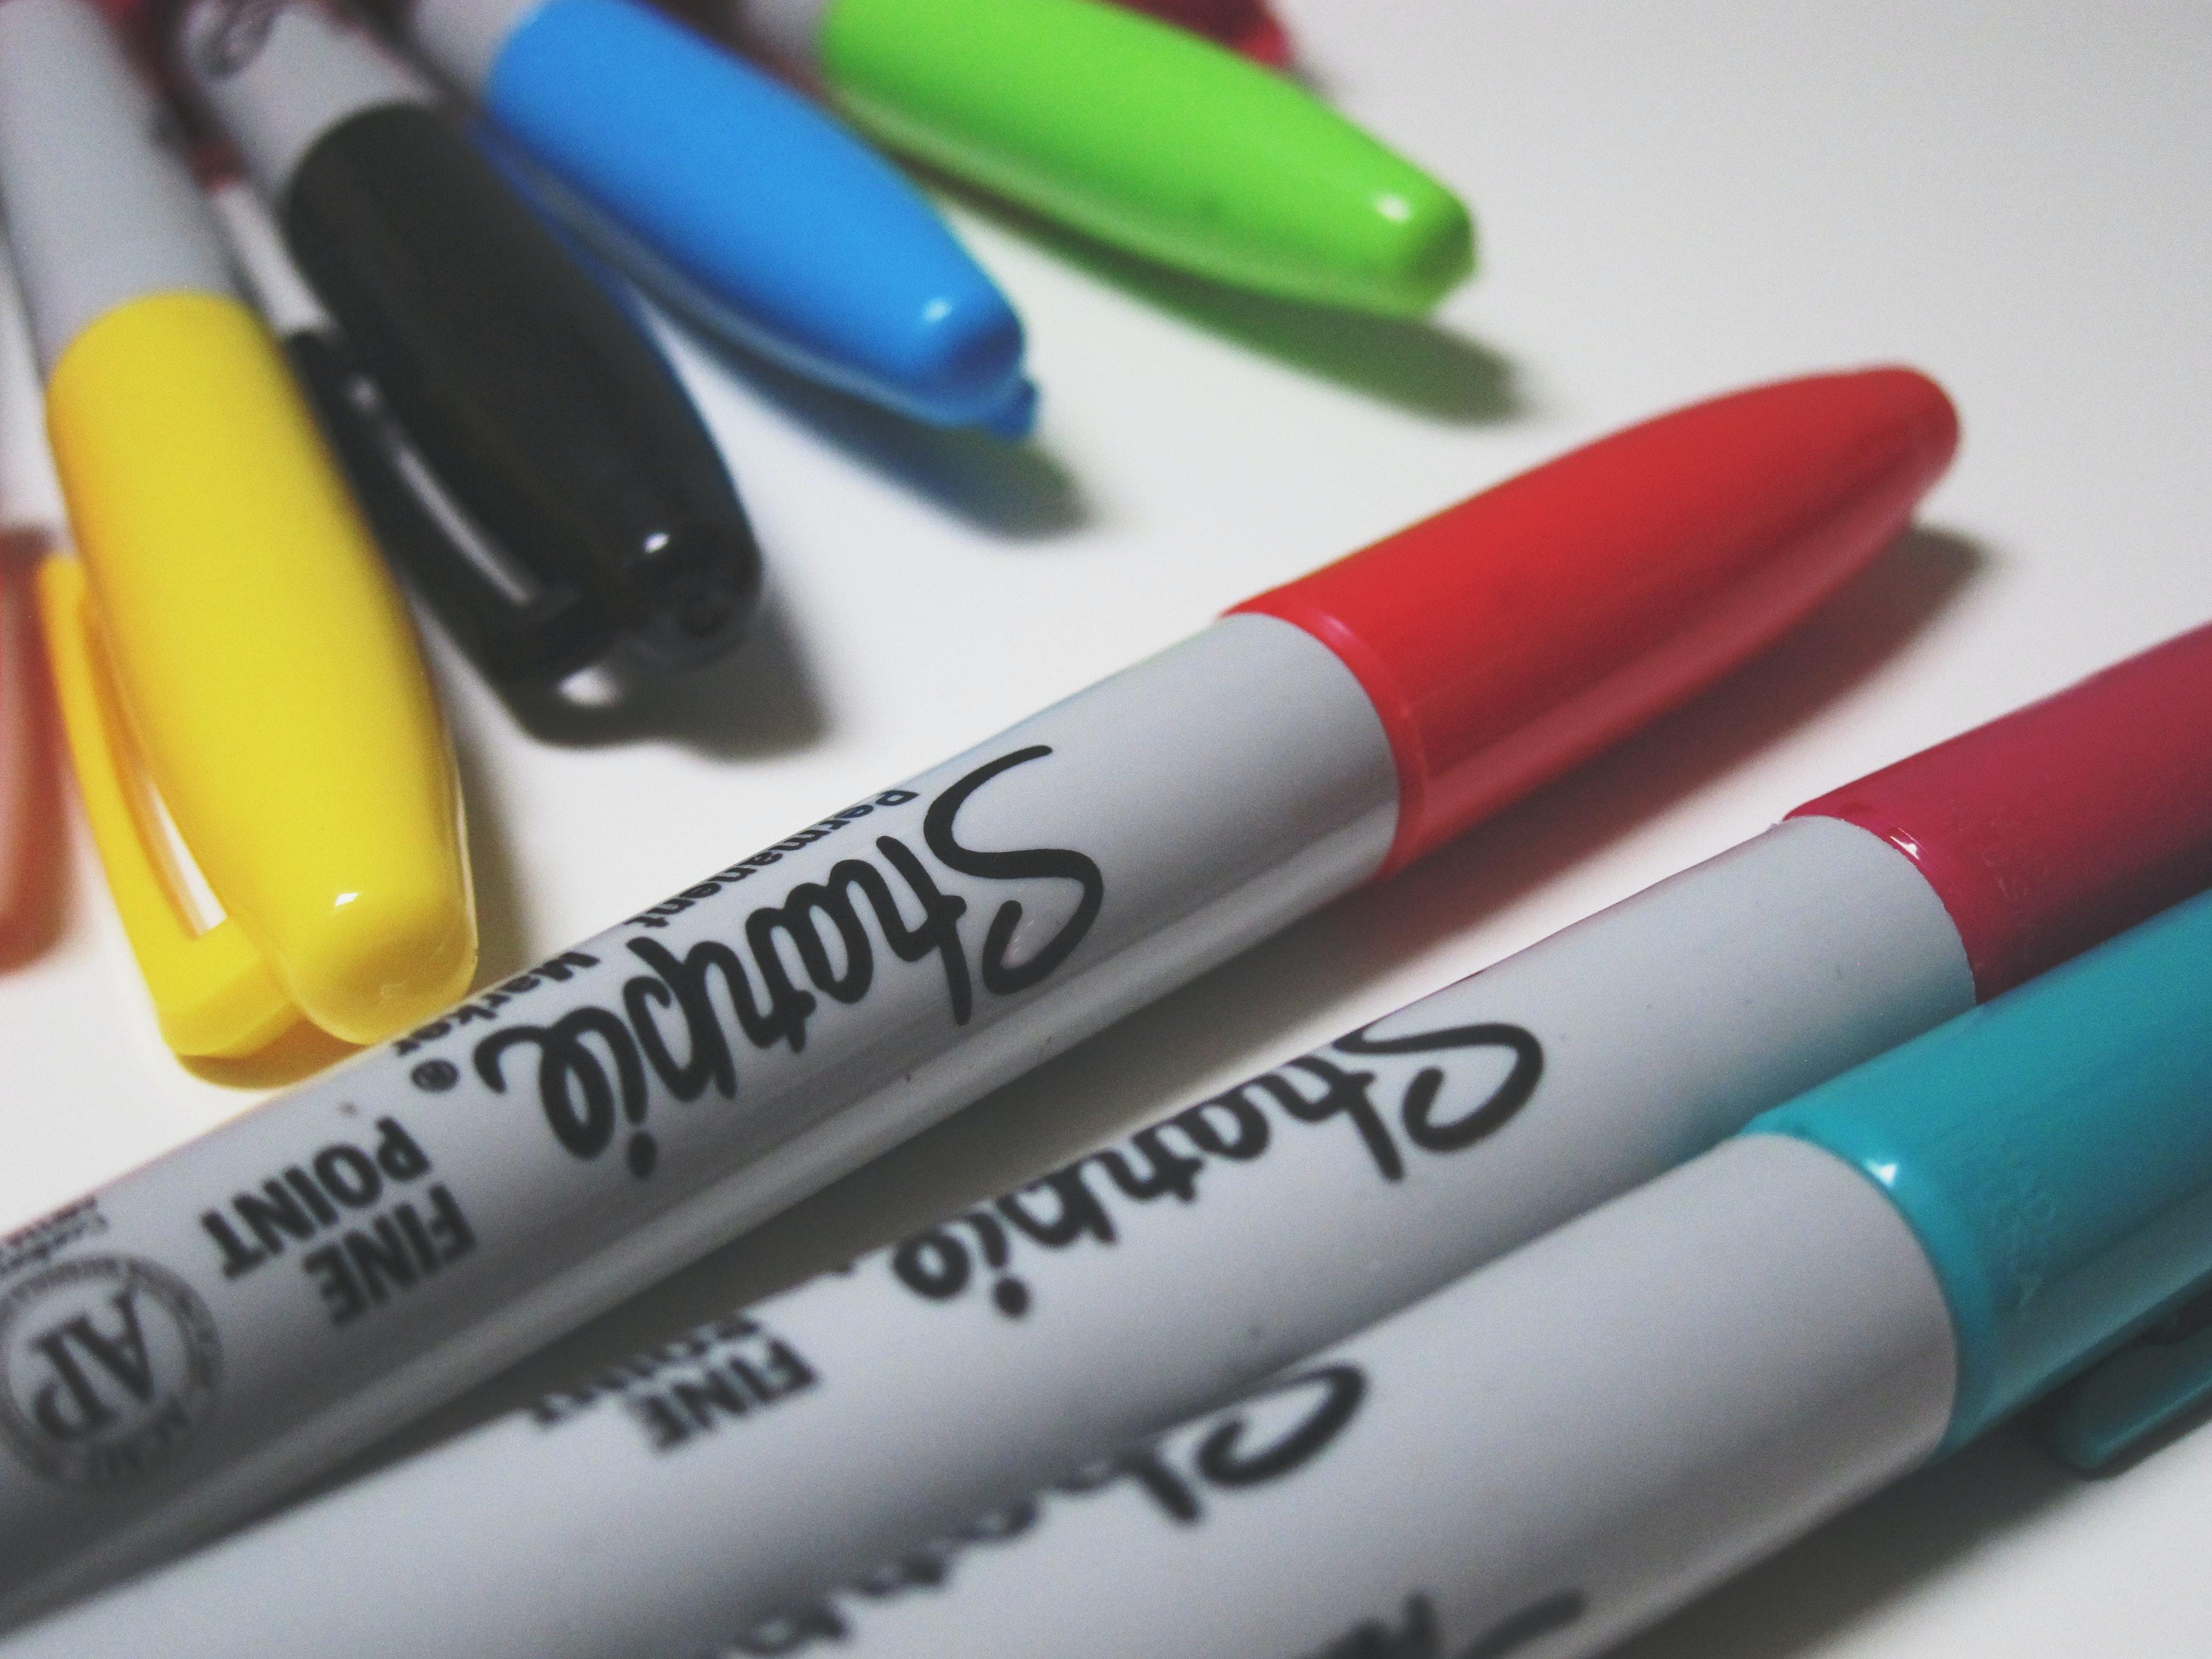
There are tons of ways to tie dye at home, but this method keeps it simple. All you'll need is a white or light-colored cotton shirt, a handful of colored Sharpies, rubbing alcohol, Solo cups, rubber bands, and a liquid dropper. (Next time your face serum is running low, save one for this!)
How To Tie-Dye With Sharpies
First, pick a spot on the shirt and pull the top layer of the shirt over the top of one of the cups, securing it with an elastic. Then, draw a design with your Sharpie in the middle of the circle that's created. You can keep it to one color or mix and match, but keep in mind which colors could turn brown or black when mixed. (Test it out on a piece of paper if you're not sure.) Then, drip rubbing alcohol on the design until it begins to spread out to the edge of the cup. No need to let it dry: You'll be able to see right away what your final design will look like. Repeat until the shirt is covered, or make a secondary design out of all of your circles.
How Long Does Tie-Dye Last?
Sharpies are meant to be permanent on fabric, and should hold up for several washings. Once your shirt is worn out, though, you'll already have everything you need on hand to create another wearable masterpiece. Do it now, before this trend is officially over!
